Camping sounds simple until you try to plan your first trip. You’ve browsed gear on Amazon, watched a few YouTube videos, and then closed your laptop because the whole thing started feeling like too much.
This guide covers how to go camping for the first time without overthinking it, overspending, or hating the experience. We’ll walk through picking a campground, what gear you actually need (and what’s a waste of money), what to eat, what to wear, and how to leave your campsite without being the person everyone complains about on the campground reviews.
Make Your First Trip Easy
If you’re new to camping you’ve probably imagined being in a remote location with no one around you and no cell service. This might be the preferred experience for camping “purists,” but it’s best not to attempt this on your first time if you’re going solo or with other inexperienced campers.
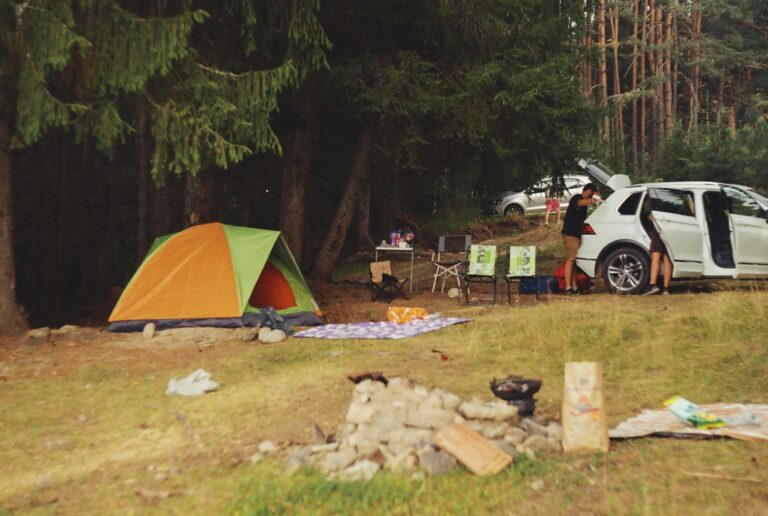
I highly recommend you start at a developed campground. This is called car camping or “front country” camping (as opposed to back country) where you drive to a reserved spot and park next to your campsite. Many developed campgrounds have restrooms, showers, water access, picnic tables, fire rings, or grills already set up for you.
This lets you experience camping while still keeping a few basic comforts nearby. Remember, comfort isn’t cheating and most people that go camping are car camping.
Campsites that are 30 to 90 minutes are perfect. It’s close enough to home to make leaving easy if something goes wrong. But far enough away to still make it feel like a trip.
Borrow vs Buy: Your First Trip for Under $75
Once you’ve picked a campground, the next question is gear. And this is where a lot of guides lead beginners astray.
Do not buy a bunch of camping gear before your first trip. A big reason why I wanted to write this guide is because a lot of “camping 101” guides will have you dropping $300+ for your first trip. That’s crazy!
What to Borrow, What to Buy, What to Skip Entirely
Borrow: A tent, a sleeping bag, a cooler, and a camp stove. Ask friends, family, neighbors, or check local gear libraries (yes, these exist). REI also rents camping packages in many locations. If you can’t borrow a sleeping pad, this is the one item worth buying if you’re not using a cot or an air mattress.
Buy: A cheap foam sleeping pad ($15 to $25), a headlamp ($10 to $15), and a lighter. That’s it. You probably already own everything else you need: warm clothes, a water bottle, towels and hygiene items, a phone charger, trash bags.
Skip entirely: A hatchet (buy pre-split firewood at the campground), fancy cookware (you don’t need it for a few nights), and anything marketed as a “camping gadget.” If it has the word “tactical” on it, leave it on the shelf.
Sleeping is the Whole Game
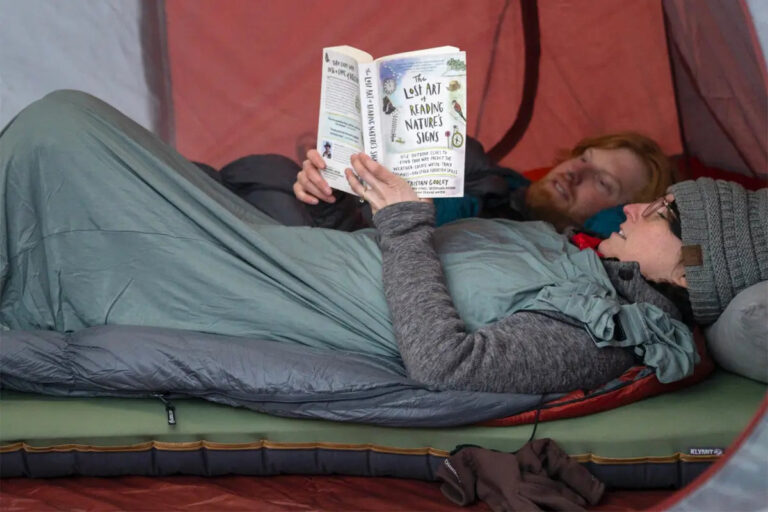
I’ve watched dozens of people try camping once and never do it again. Nearly every single time, the reason is because they slept terribly and by morning they were cold, sore, and miserable.
If you take one thing from this entire article, it’s that your sleeping setup matters more than every other piece of gear combined.
Why Your Sleeping Pad Matters More Than Your Tent
Your sleeping pad isn’t just for comfort. It’s insulation. The ground pulls heat from your body all night long, and no sleeping bag in the world will fix that if you’re lying directly on dirt. A basic closed-cell foam pad (like the ones that cost $20 at any outdoor store) provides a meaningful thermal barrier between you and the cold ground. It also turns a lumpy campsite into something your back can survive.
If you want to splurge on one thing, get an inflatable sleeping pad. The difference in sleep quality between a foam pad and an inflatable one is massive. It’s the single best camping investment you can make.
The Temperature Rating Trap
Sleeping bag temperature ratings are… optimistic. A bag rated to 40°F means you won’t die at 40°F. It does not mean you’ll be comfortable. If the forecast low is 50°F, you want a bag rated to at least 35°F, maybe 30°F. Beginners almost always underestimate how cold it gets at night, especially near water or at elevation.
Also wear clean, dry socks to bed. Bring a dedicated pair of “sleep socks” that you haven’t been hiking in all day.
Managing Insects
Bugs are probably the second most common reason people don’t go back for trip number two (after bad sleep). Thankfully they’re manageable with the right stuff.
DEET-based insect repellent is still the gold standard. A spray with 25% to 30% DEET handles mosquitoes, ticks, gnats, and most of the other stuff that wants a piece of you. If you don’t like DEET on your skin, Picaridin works almost as well and doesn’t have that chemical smell. Citronella candles help a little bit in a small radius around your picnic table, but they won’t protect you on a walk to the bathroom. Wristbands and ultrasonic devices are basically useless, so save your money.
If you’re camping in tick country (wooded areas, tall grass, anywhere in the eastern U.S. from May through October), tuck your pants into your socks. It looks ridiculous, but it works. Do a tick check on yourself and anyone with you before bed, focusing on warm spots like behind the knees, the waistband, armpits, and hairline. Ticks can carry Lyme disease so don’t skip this.
For your campsite itself, keeping a small fire going in the evening does reduce mosquito pressure around your immediate area. Beyond that, don’t leave standing water near your site (dump out anything that collects rain), and keep your tent zipped shut at all times, even when you’re just running to grab something from the car. It only takes 30 seconds for a few mosquitoes to find an open tent.
What Clothes Should You Wear Camping?
The biggest clothing mistake beginners make is dressing for the daytime temperature only. Camping is different because you’re outside early in the morning, late at night, and while sitting still. A day that feels warm at 2 p.m. can feel cold once the sun drops.
Think in layers.
Base Layer
This is the layer closest to your skin. For mild weather, a regular T-shirt can be fine. For cooler weather, choose synthetic or wool if you have it.
Avoid cotton if it’s going to be cold or wet. Cotton holds moisture and can make you feel chilled.
Warm Layer
Bring a hoodie, fleece, or insulated jacket. Even in summer, a warm layer is smart.
Sitting around camp after dark is not the same as walking on a trail. You’ll cool down quickly when you stop moving.
Rain Layer
Bring a rain jacket even if the forecast looks decent. Weather changes, and a light rain can make the whole trip uncomfortable if you have no way to stay dry.
A cheap poncho is better than nothing.
Pants and Shorts
Shorts are fine in warm weather, but pants are better if bugs, ticks, brush, or chilly nights are a concern.
For your first trip, pack both if you can.
Shoes and Socks
Wear comfortable shoes you don’t mind getting dirty. You don’t need hiking boots for a basic campground trip unless you’re planning serious trails.
Pack extra socks. Wet socks are one of those small problems that can make you irrationally annoyed.
Sleep Clothes
Have a clean, dry outfit just for sleeping. Don’t sleep in damp clothes from the day. Even if they only feel a little sweaty, they can make you cold overnight.
Good sleep clothes might include:
- Dry T-shirt or long-sleeve shirt
- Sweatpants or leggings
- Warm socks
- Beanie if it’ll be cold
Keep your sleep clothes inside your tent so they stay dry.
What Food Should You Pack for Your First Camping Trip
The best beginner camping food is easy and filling. Don’t make your first trip the time you try to become a campfire chef. Cooking outside is slower than cooking at home, and cleanup is more annoying.
Pack food you already know you like, and choose meals with very few steps.
Easy Camping Breakfast Ideas
Breakfast should be simple because mornings at camp can feel slower than expected. You may be cold, tired, or trying to pack up.
Good options include:
- Bagels with cream cheese or peanut butter
- Instant oatmeal
- Granola bars
- Bananas or apples
- Yogurt in a cooler
- Breakfast burritos made at home and reheated
- Eggs and tortillas
- Muffins
- Coffee, tea, or hot chocolate
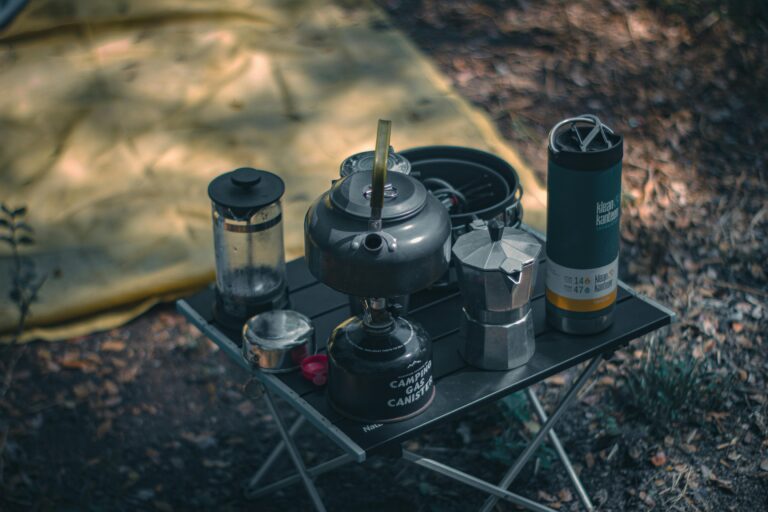
If you need coffee to be a decent person in the morning, plan that carefully. Bring instant coffee, a French press, pour-over packets, or canned coffee. Don’t assume you’ll “figure it out” at camp.
Easy Camping Lunch Ideas
For lunch, avoid anything that requires a full cooking setup. You’ll probably be hiking, swimming, exploring, or driving around. You don’t want cooking to take up your prime time for activities.
Pack:
- Sandwiches
- Wraps
- Trail mix
- Cheese and crackers
- Hummus and pita
- Peanut butter and jelly
- Apples, oranges, or grapes
- Jerky
- Chips or pretzels
Lunch is where convenience wins. You don’t want to drag out the stove and dirty dishes every time someone gets hungry.
Easy Camping Dinner Ideas
Beginner-friendly dinners include:
- Hot dogs or veggie dogs
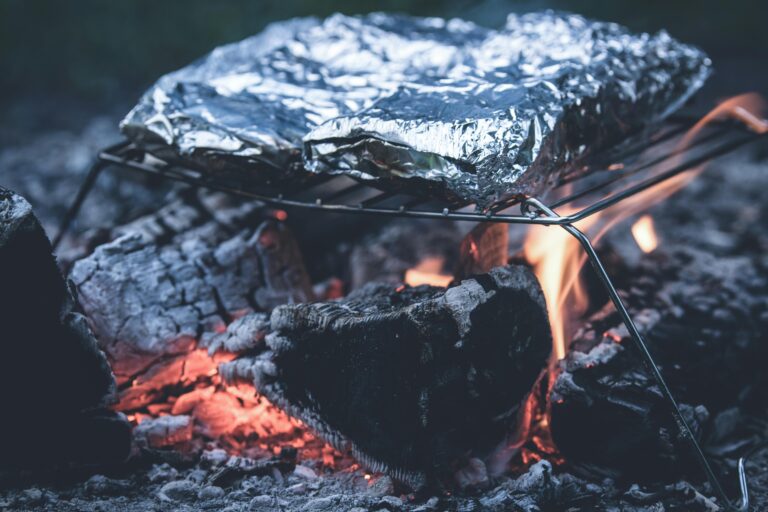
- Foil-wrapped burritos
- Pre-made chili
- Pasta with jarred sauce
- Instant noodles with vegetables
- Tacos
- Burgers
- Pre-cooked sausages
- Grilled cheese
- Soup and bread
Prepping at home makes dinner much easier. Chop vegetables, season meat, pre-cook rice, or assemble foil packets before you leave. Camp cooking is more fun when you’re mostly reheating and assembling, not trying to dice onions in the dark.
Snacks and Extras
Snacks are not optional. People get cranky outdoors when they’re hungry, cold, or tired.
Bring more snacks than you think you need:
- Trail mix
- Granola bars
- Fruit
- Crackers
- Peanut butter
- Popcorn
- Cookies
- Beef jerky or plant-based jerky
- Chips
- Chocolate
- S’mores supplies
Also bring enough water. If your campground has potable water, you still may want a few gallons at your site so you’re not walking back and forth constantly. If your campground does not have drinking water, bring more than you think you’ll need for drinking, cooking, brushing teeth, handwashing, and cleanup.
When you’re done eating for the night, put everything, cooler included, in your car. Not next to your tent, not on the picnic table. In the car, with the windows up. Raccoons, mice, and even bears in some areas will absolutely find unattended food, and a raccoon tearing through your campsite at 2 AM is not the wildlife experience you’re looking for
Breaking Camp: How to Leave Your Campsite the Right Way
Leaving your campsite is part of camping. A good camper doesn’t just pack their own gear. They leave the site ready for the next person.
Start packing earlier than you think you need to, especially on your first trip. Morning goes slower at camp. Sleeping bags need to be stuffed, tents may be wet with dew, dishes need to be cleaned, trash has to be gathered, and somehow everything takes longer than it did at home.
Break Down Camp in the Right Order
Start with personal items and sleeping gear. Then handle breakfast and dishes, then food and cooler. Shake out the tent and let it air dry while you deal with everything else. Take the tent down last. Walk the full perimeter of your site looking for easy to miss trash like twist ties, bottle caps, bits of foil.
Check the fire ring.
If you had a fire, make sure it’s completely out.
Pour water on it, stir the ashes, and feel for heat carefully with the back of your hand near the ashes. If it’s still warm, keep working on it. Never leave a hot fire ring behind.
Don’t burn trash in the fire pit. Foil, plastic, cans, food wrappers, and glass don’t belong there.
Then do one final look before you drive away.
If planning your first camping trip still feels like a lot, you don’t have to figure it all out by yourself. Wild Diversity offers group camping experiences where you can learn alongside others, get comfortable with basic camp routines, and enjoy the outdoors in a welcoming setting.
Wild Diversity offers multiple beginner-friendly group camping experiences per year. Check them out here!